One of the quiet joys of arriving somewhere new is the simple assurance of connectivity – knowing you can navigate, translate, or simply let loved ones know you’ve landed safely. A travel eSIM makes this peace of mind feel closer than ever, but timing its activation is key. You can safely install an eSIM on your phone days before your journey begins, but for most plans, it’s best not to activate it until you’ve arrived at your destination. This is because your plan’s validity window typically starts on activation or first network connection, not on installation. Activating too early can, unfortunately, mean losing precious days of your data plan.
Understanding the Difference: Installing vs. Activating Your eSIM

An eSIM’s quiet strength lies in its flexibility. Unlike a physical SIM card, which asks you to physically swap out a tiny chip, an eSIM profile is downloaded and stored digitally on your phone. This means you can prepare well in advance. I often find a quiet moment at home, perhaps with a cup of tea the evening before a trip, to download the eSIM profile onto my device. This initial step is installation: getting the digital “SIM card” onto your phone.
The crucial distinction, however, is between having the eSIM installed and having it activated.

Let’s clarify these two important steps. When you purchase an eSIM, you’re usually provided with a QR code or manual details. Installation is the process of scanning that QR code (or entering the details) into your phone’s settings. Your phone then downloads the eSIM profile, essentially adding a new digital line. This process usually requires an internet connection, often Wi-Fi, and it’s perfectly safe to do it from your living room days before departure. The eSIM is now “on your phone,” but it’s not yet live.
Activation, on the other hand, is when that installed eSIM connects to a mobile network in the country you intend to use it in, initiating its service. Think of it like this: you’ve bought a train ticket (the eSIM plan) and loaded it onto your digital wallet (installed it on your phone). The journey (your data plan) doesn’t start until you scan that ticket at the gate and step onto the platform in the right city. Until then, the ticket is just waiting.
This distinction is vital for making the most of your travel connectivity, because the most common oversight is activating your plan too early. Many travelers, myself included in earlier days, have inadvertently activated their eSIM plans before leaving home. While your phone’s software might allow you to “turn on” the eSIM line in your settings, the critical point is whether it connects to a foreign network. Some advanced eSIMs, especially those with global coverage, might detect a network even in your home country if they have a roaming agreement there. If your plan is designed to start on first network connection, this connection, even at home, will trigger the validity clock.
This means your data allowance begins shrinking before you’ve even finished packing. A 7-day plan could become a 5-day plan by the time you actually arrive, which is a frustrating way to begin a trip. A moment spent understanding this difference can save both frustration and money, ensuring your data is ready precisely when you need it, and avoiding unknowingly wasting your plan.
When Does Your eSIM Plan’s Clock Begin?

It’s worth confirming this detail, as providers often handle it in slightly different ways. Generally, there are three common triggers for your eSIM plan’s validity period to begin:
- First Network Connection: This is the most common scenario for travel eSIMs. The plan activates the moment your phone successfully connects to a supported local network in your destination country. If you land at Narita Airport in Japan or Incheon International Airport in South Korea and turn on your eSIM line, that connection starts the clock.
- Manual Activation: Some providers offer a specific “activate now” button within their app or website. This gives you direct control, allowing you to choose the precise moment to start your plan. This can be useful for very precise travel itineraries or connecting flights.
- Specific Date/Time: Less common for short-term travel eSIMs, but some longer-term or regional plans might have a pre-determined activation window or a start date you select during purchase.
Because of these variations, my advice is always to check the specific terms and conditions provided by your eSIM vendor for the plan you’ve purchased. A quick look at their FAQ or confirmation email should clarify the exact trigger for your plan’s validity. This small step ensures there are no surprises when you arrive.
Gentle Reminder: Always Check Your Provider’s Specific Terms! Each eSIM provider sets its own rules. Before your journey, a quick glance at their FAQ or your confirmation email for your specific plan is the most reliable way to avoid any surprises. This small act of mindful preparation ensures your data is ready precisely when you expect it.
Manual Activation vs. Automatic On Arrival

Many eSIM providers design their services to activate automatically upon detecting a network connection in the destination country. This “automatic on arrival” feature offers a seamless connection the moment you land. You simply ensure your eSIM line is enabled on your phone’s settings (and your home SIM’s data roaming is off), and it should connect.
However, some travelers, myself included, prefer the control of manual activation where available. This might involve toggling the eSIM line on only after you’ve cleared immigration and found your bearings, or perhaps even waiting until you’re settled in a local café to ensure you’re truly ready to start using data. If your provider offers a manual activation option (often through their app or a portal), it gives you the ultimate say in when your plan begins. This can be particularly reassuring if you’re traveling across many time zones or have an unpredictable arrival schedule.
The key is simply to know your plan’s activation method and configure your phone before you depart. This prevents fumbling when you’ve landed and are eager to explore.
How to Turn On Your eSIM Upon Landing
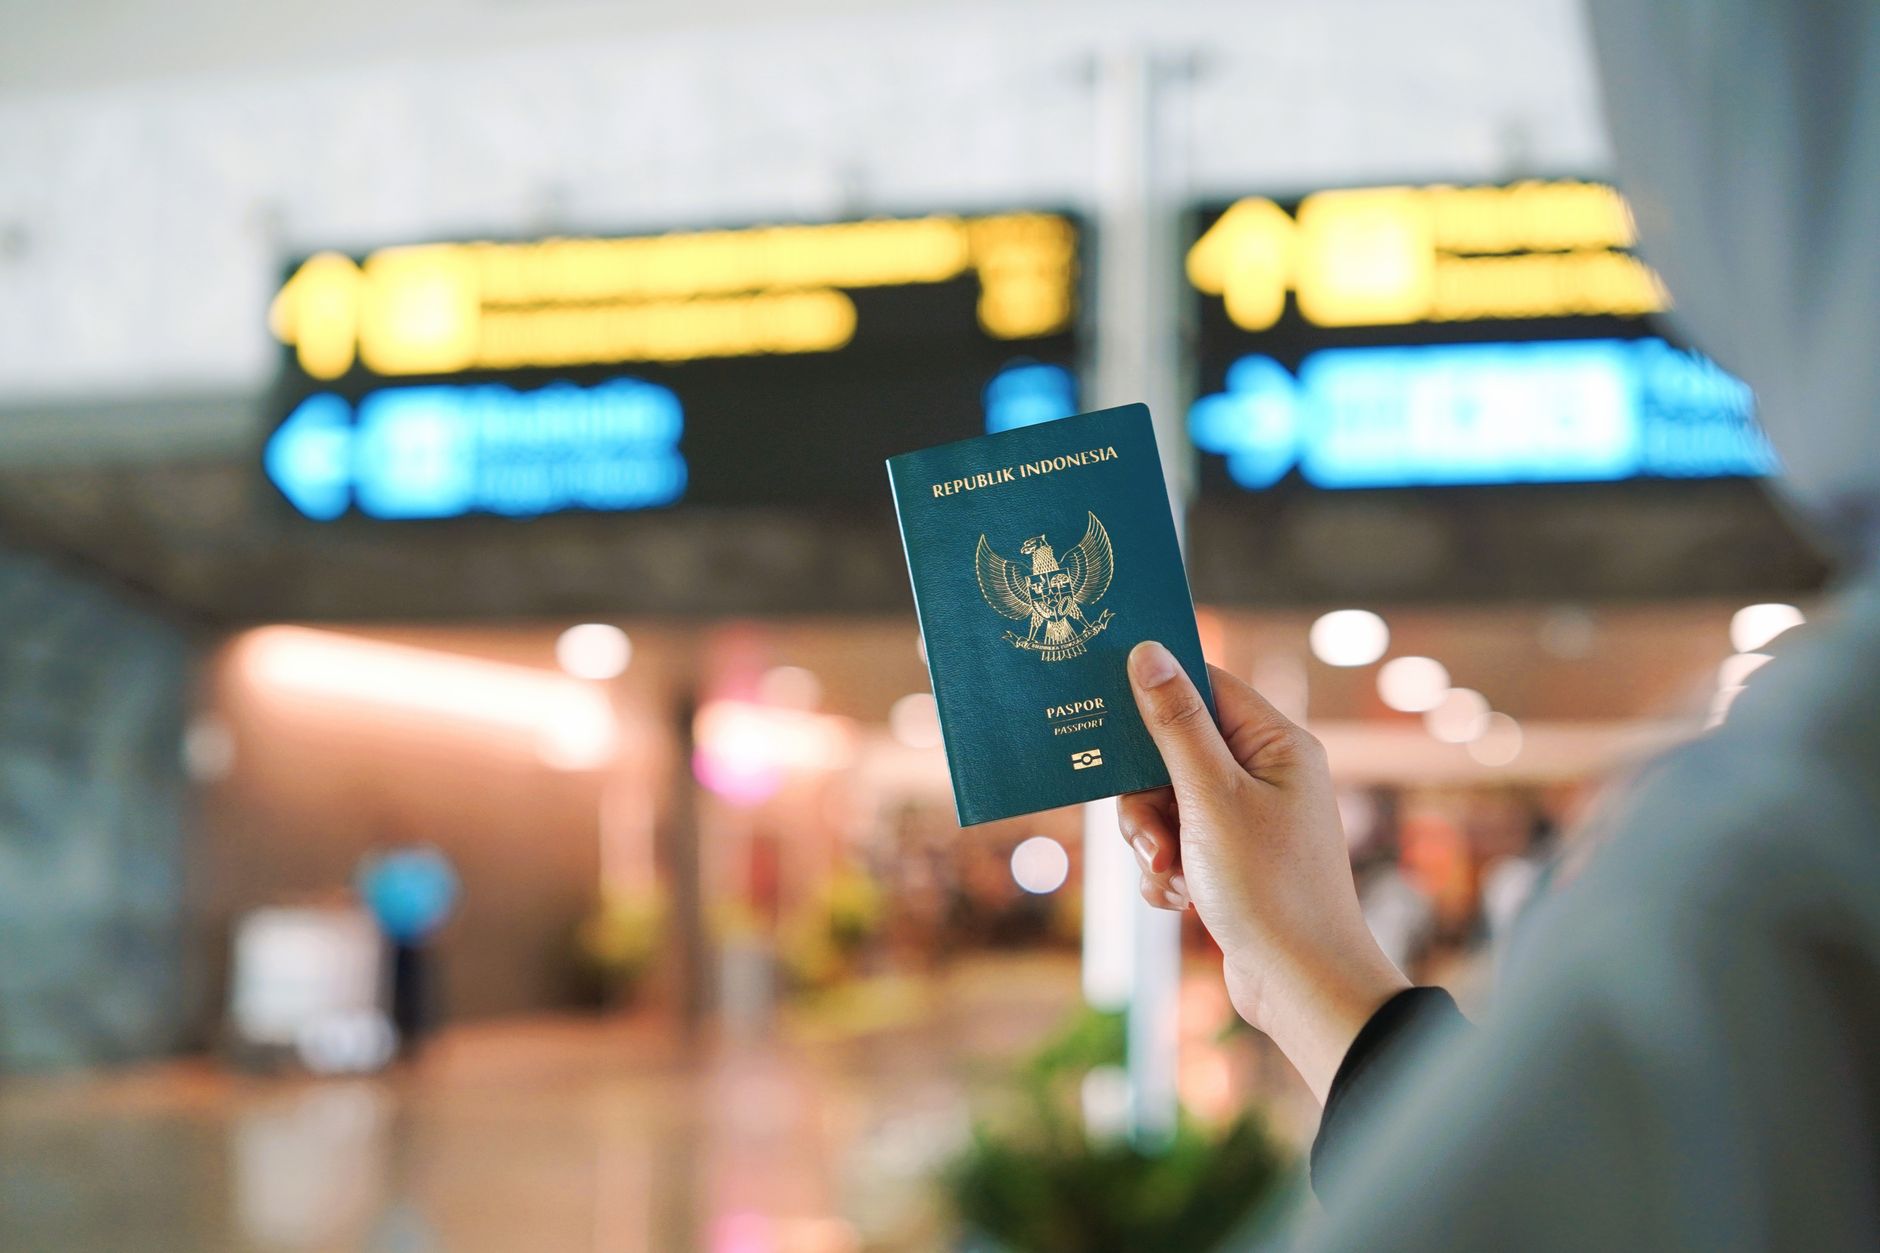
Once your plane touches down – say, at Narita Airport or Incheon International Airport – and you’re ready to connect, the process for enabling your travel eSIM is straightforward. The exact steps can vary slightly between iPhone and Android devices, but the general principle is the same:
- Disable Your Home SIM’s Data Roaming: This is crucial to avoid unexpected roaming charges from your home provider. Go to your phone’s cellular settings, select your primary (home) SIM, and turn off “Data Roaming.”
- Enable Your Travel eSIM Line: In the same cellular settings menu, locate your newly installed travel eSIM profile. There will usually be a toggle to “Turn On This Line” or similar. Switch it on.
- Set Travel eSIM for Cellular Data: Ensure your travel eSIM is selected as the primary line for “Cellular Data” or “Mobile Data.” Your home SIM can remain active for calls and texts if you wish (just ensure its data roaming is off), but your travel eSIM should handle data.
- Restart or Airplane Mode Cycle (Optional but Recommended): Sometimes, a quick toggle of Airplane Mode off and on, or a brief phone restart, can help your device find the new network faster.
After these steps, your phone should connect to a local network, and your eSIM plan’s validity period will begin. If you’d like a more detailed, step-by-step guide on the technical setup, we’ve outlined the complete process in our eSIM setup guide. For those journeying to Japan, you might also find our picks for an eSIM for Japan useful.
Navigating Time Zones and Date Lines

For most journeys, simply activating your eSIM upon landing in local time works perfectly. However, if your travels involve crossing major date lines – for instance, flying from North America to Asia – a small consideration comes into play. If your eSIM plan starts ticking based on UTC (Coordinated Universal Time) or a specific time zone set by the provider, rather than your immediate local time of arrival, there could be a slight discrepancy.
In practice, for short-term travel eSIMs, the “first network connection” rule usually overrides specific time zone nuances. The plan simply begins when your phone finds a local signal. However, for complete peace of mind, especially with longer-term plans, it never hurts to quickly cross-reference the provider’s terms regarding time zones. Most often, the simplest approach remains the best: activate your eSIM when you physically arrive in your destination, in line with the local clock, and trust that your plan will follow suit.
Do You Need Wi-Fi to Activate Your eSIM?

It’s a common question, and the answer holds a subtle but important distinction. You usually don’t need Wi-Fi to activate an already installed eSIM. Once the eSIM profile is downloaded onto your phone, the act of connecting to a local cellular network to start your plan typically happens over cellular data itself, not Wi-Fi.
However, you do typically need an internet connection (most often Wi-Fi, or your home cellular data if you’re still connected) to install the eSIM in the first place. Downloading the eSIM profile usually requires a stable internet connection for the QR code scan or manual data input to successfully register the profile onto your device. So, while you can install it at home over Wi-Fi, you won’t need Wi-Fi later to get it to ‘kick in’ when you land. This means that if you’ve done your pre-trip preparation and installed the eSIM at home, you can confidently turn it on at the airport without searching for a free Wi-Fi hotspot.
What this means for your trip

Understanding the simple difference between installing and activating your travel eSIM can feel like a small detail, but it makes a quiet difference to the start of any journey. It transforms the moment of arrival from a potential scramble for connectivity into a smooth transition, allowing you to step off the plane with confidence. I find that these small acts of mindful preparation often set the tone for a more relaxed and open travel experience. It frees you to simply be present, to notice the unique sounds and smells of a new place, rather than worrying about data plans. A little planning goes a long way in cultivating a gentler journey, leaving you calmer, more connected, and ready for whatever new experiences await. If you’re looking for an eSIM for your next trip, our travel eSIM finder can help you explore options.
Frequently asked questions
Can I install my eSIM before I travel?
Yes, you can safely install your eSIM profile onto your phone days or weeks before your trip, typically over Wi-Fi at home.
When does my eSIM plan's validity period typically begin?
For most travel eSIMs, the plan's validity starts the moment your eSIM connects to a local network in your destination country. Some plans might offer manual activation, or less commonly, a pre-set date.
What happens if I activate my eSIM too early?
If your plan activates before you arrive in your destination, its validity clock will start running, potentially causing you to lose valuable days from your data allowance.
Do I need Wi-Fi to activate my eSIM on arrival?
You typically need Wi-Fi to *install* the eSIM profile, but once installed, you do not need Wi-Fi to *activate* it. Activation occurs when it connects to a cellular network.
How do I ensure my home SIM doesn't incur roaming charges when using an eSIM?
Before activating your travel eSIM, make sure to go into your phone's cellular settings and turn off "Data Roaming" for your home SIM line.
Keep reading on Gently Yonder
- eSIM Setup for International Travel — Phone compatibility, plan choice, and the activation order that avoids the airport scramble.
- eSIM vs Physical SIM Card for Travel — Which to buy — activation timing, cost, coverage, keeping your home number, and when a local SIM still wins.
- Best eSIM for Japan (2026) — How to choose a Japan travel eSIM — coverage, data plans, and the pick for most trips.
- Pocket WiFi vs eSIM — Which connectivity option wins — solo vs group, cost, battery, and setup compared.
- Best eSIM for Japan, Korea & Vietnam — Destination-by-destination eSIM picks for three popular Asian countries.
- eSIM Finder (Free Tool) — Answer three questions and get a data-size and provider recommendation for your trip.